A few pics from the water pump install on Saturday.
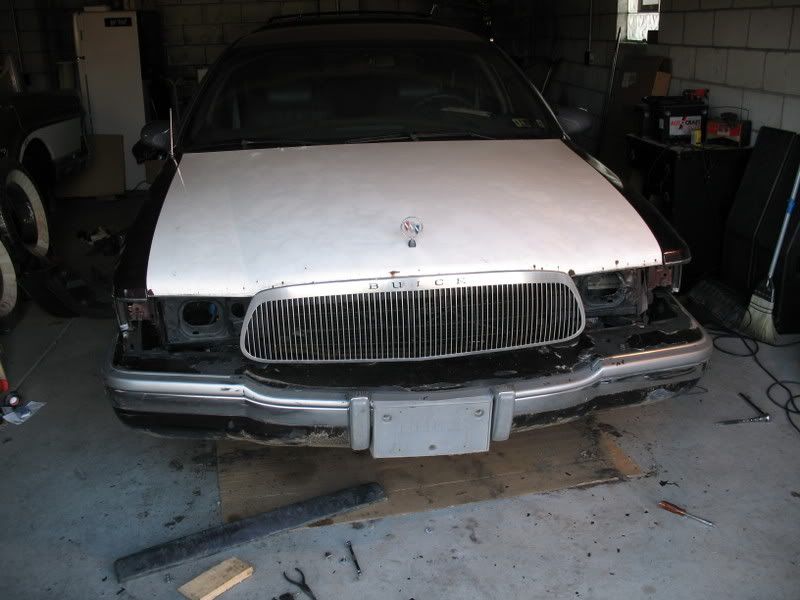
 Test fitting the left front outter fender and finding out it doesn't fit. The core support appears to be bent slightly. We'll be hammering that out tomorrow.
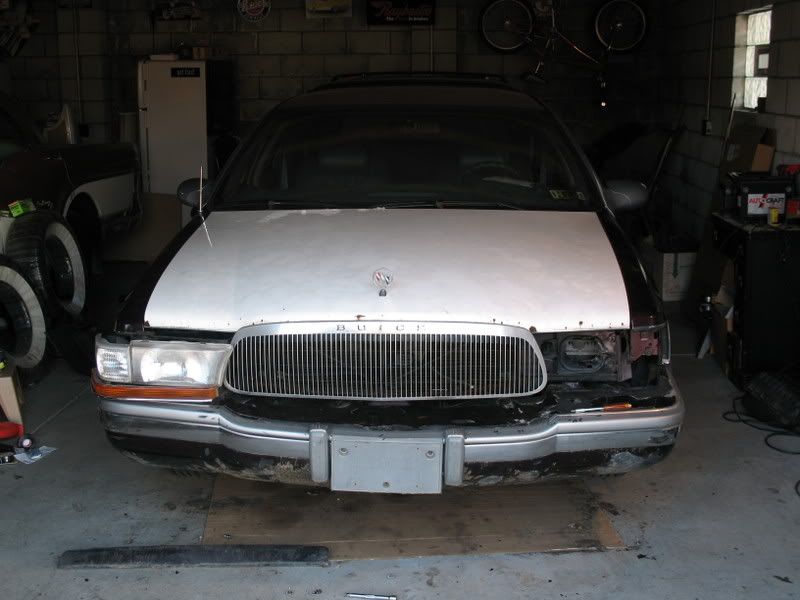
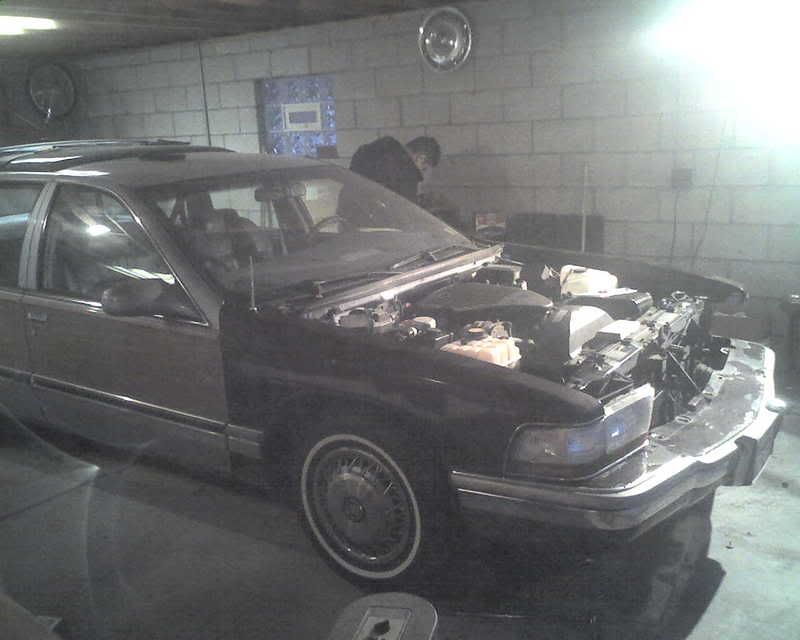
 Right inner fender isn't on. We're test fitting the outer fender to see if we have the same problem on both sides. The right side doesn't fit perfectly... but it's just shim work.
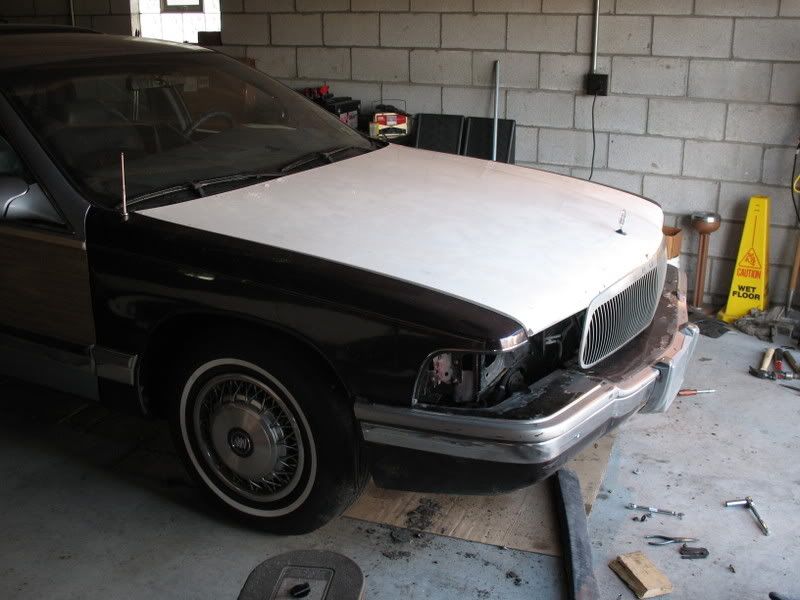
 The inner fender is attached and all accessories are bolted down to it. The outer fender is fitted and lightly bolted down. We've marked the space where I need to drill out a hole for the radio antenna. Wagons have their antenna on the front right fender, sedans on the rear right.
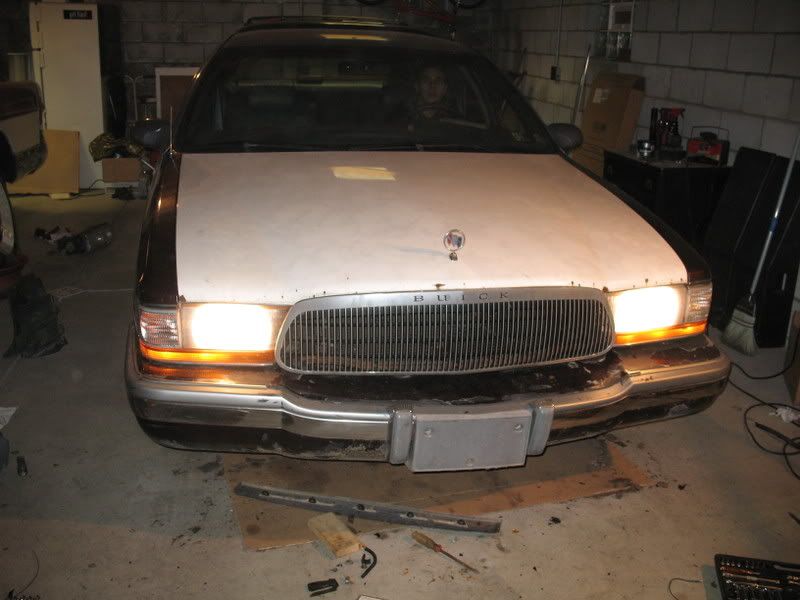
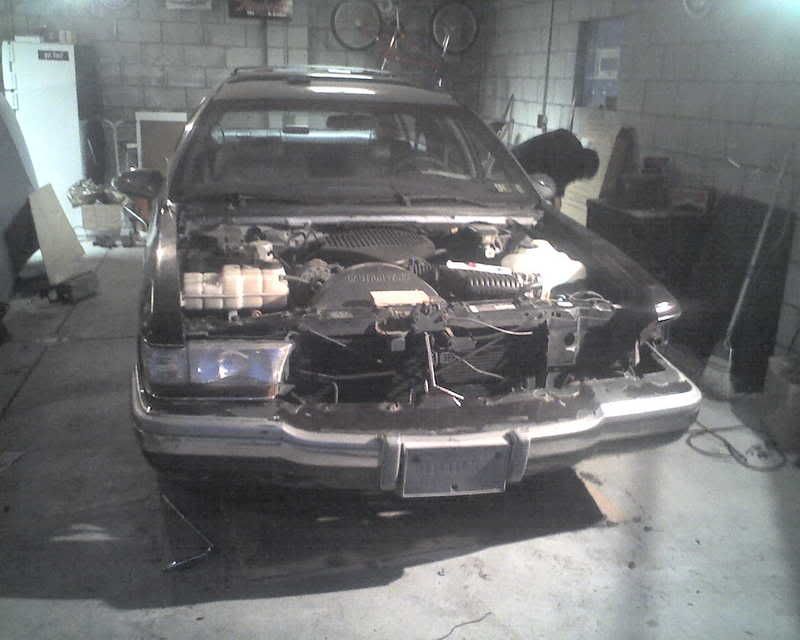
 Though you can't see it because the shutter speed is too high, the LT-1 is actually running in this picture. She's been sitting for about 10 months without being started. She roared to life on the first turn of the key, the engine fan blowing out a huge cloud of dust.
Last we left off, the front end was disassembled. The new body mounts have arrived and we can now start the assembly process. During the commercial break Dominic sanded and painted the inner fender and I used the wire brush on the replacement core support to remove surface around the mount points. A quick coat of flat black rustolium and we're good to go.
Sunday March 2nd
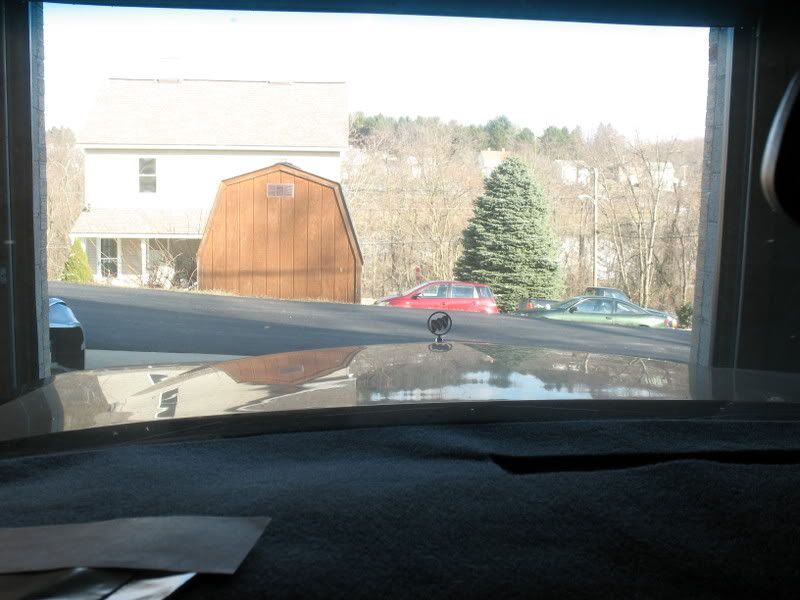
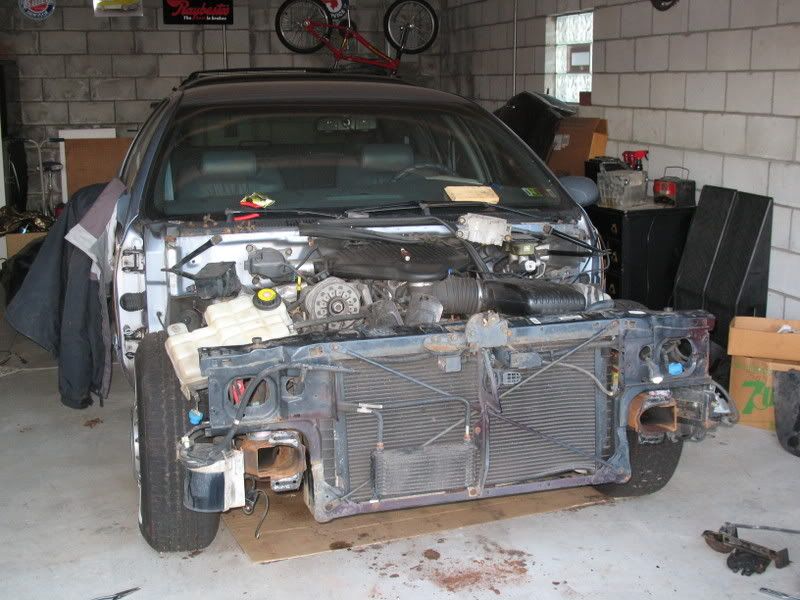
12:00pm – Starting point - Battlewagon in drydock.
3:00pm – Core support has been painted around the mount points. Wiring harness routed. Sway bar linkage replaced.
5:00pm – Upper and lower fan shrouds installed. Most of wiring harness plugged in. Left front inner fender test fit.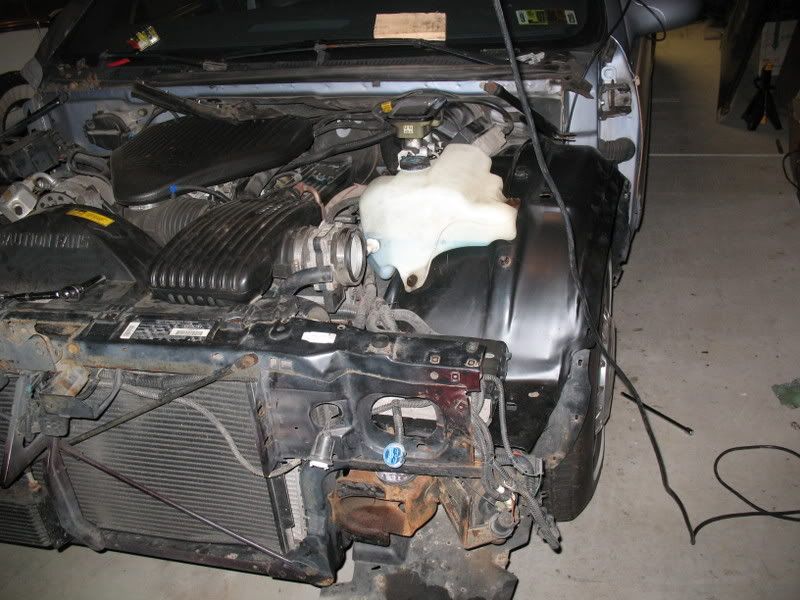
7:00pm – Left front inner fender installed, accessories attached to new fender, ECM installed.
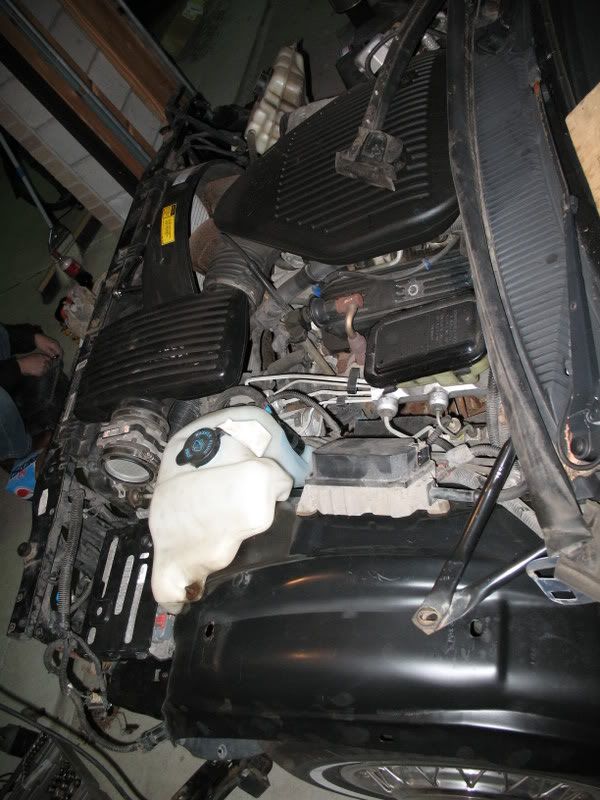
And that's a wrap for today.
Here is a picture of the donor parts car.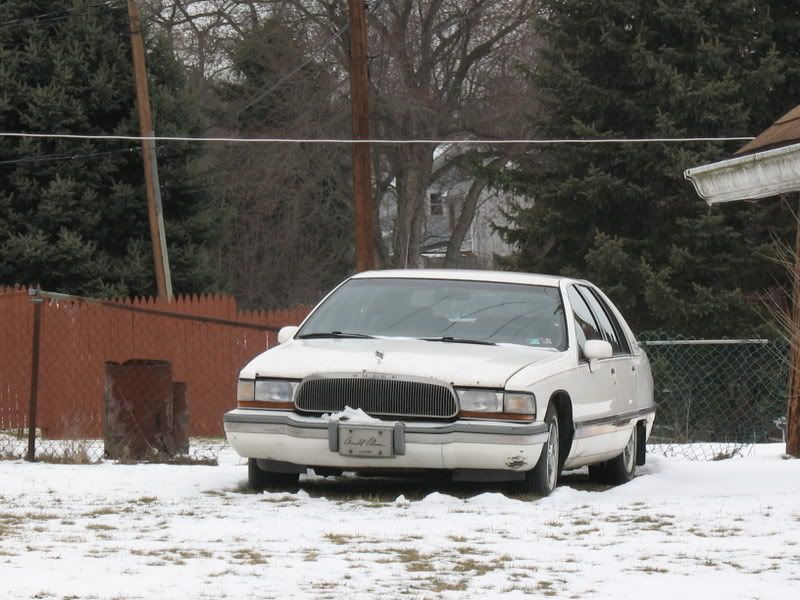
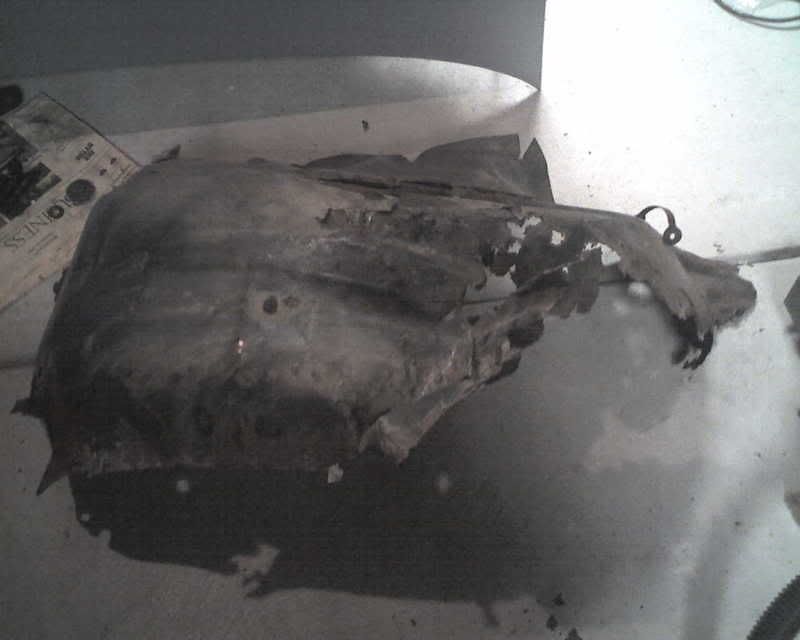
This is what car heads call "cancer" and is one of the primary reasons for this rebuild project. This was the right front inner fender removed after a lot of cutting and cussing because most of the bolts had rusted so badly. Dremel tool with a cut off wheel FTW.
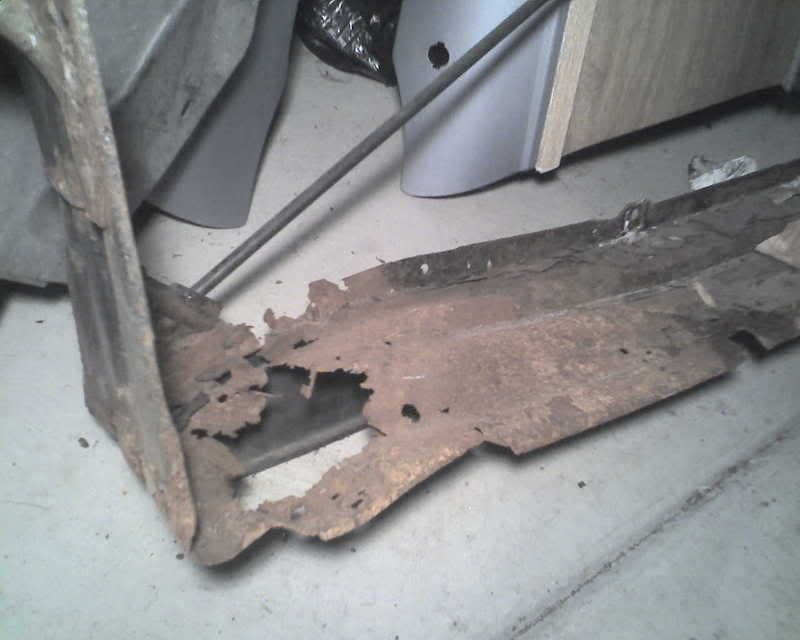
This was the radiator core support…… also had to be cut out.
After removing the core support, we found that the body mounts were pretty much toast. We also spotted a broken sway bar linkage.
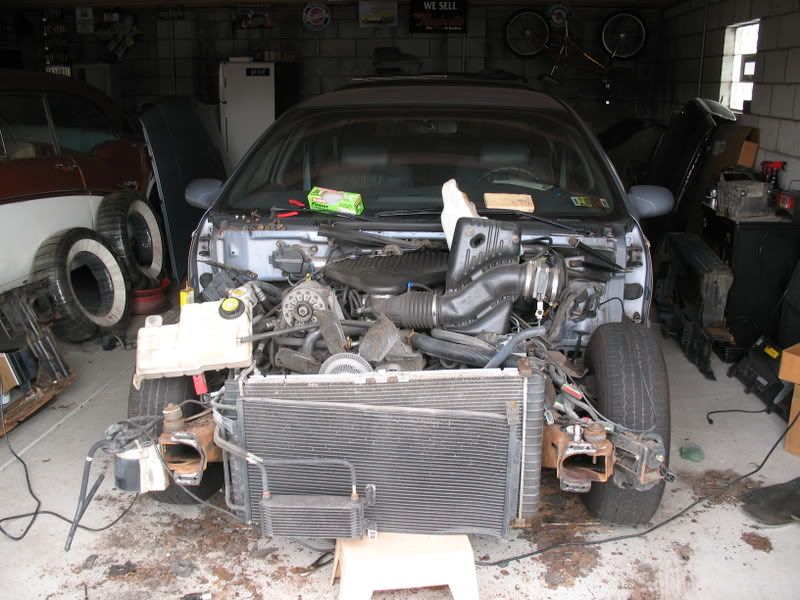
At the end of the surgery to remove the cancer, we had this sad looking heap.
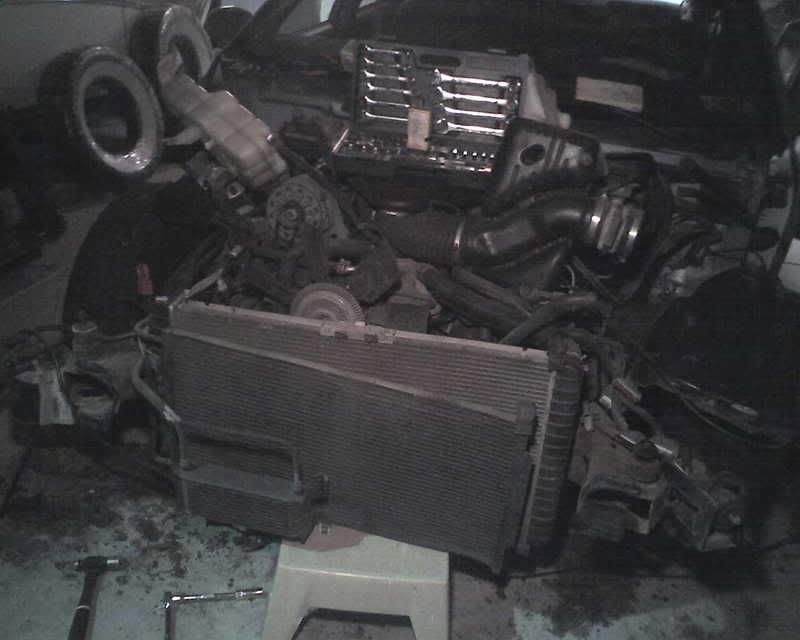
But all the bad stuff had been removed and stitching the patient back together is next.